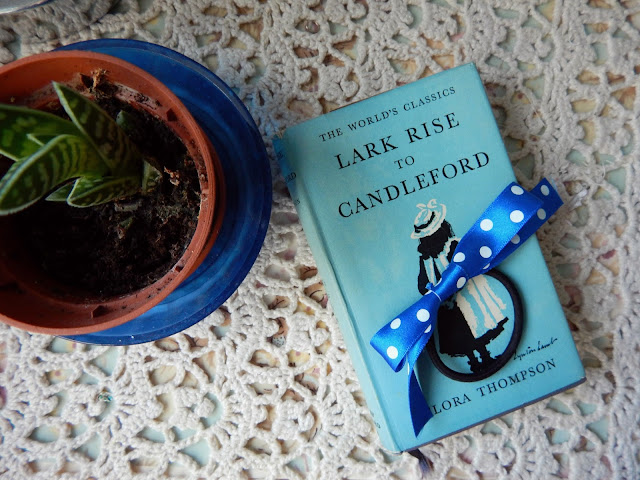
Whilst there are plenty of options with updo's for those with longer hair, I have to admit that out of sheer laziness and ease, when the temperatures soar, I just tend to stick my hair in a plain old ponytail. Sometimes even a topknot, if I'm feeling like putting a little extra effort in. So, this is why I've come to love the ribbon hair tie that I picked up in H&M lately, even though it was something that I could very easily have made myself. In order to give myself a little more choice, I decided to whip up one of my own, and here's how I did it...
You Will Need:
1m of Ribbon (wide or thinner ribbon creates different effects).
Hair Bobble
Thread + Needle
First up, you'll need to cut three lengths of ribbon, depending on how large you want the end bow to be. The longest piece should be twice the length of the finished length that you want the bow to be. The second largest piece will be the loose part of the bow, and the shortest part will be the middle section to hold the hair tie together.
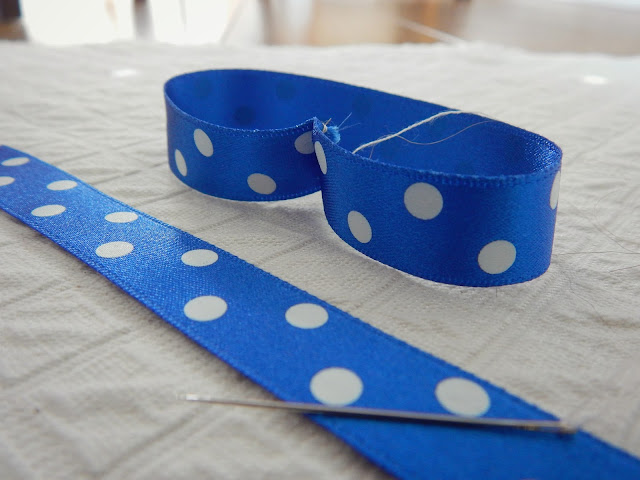
Using a sharp needle, sew the end sections of the longest ribbon piece together, to meet in the middle.
Then, stitch this in place in the middle of the second longest piece.
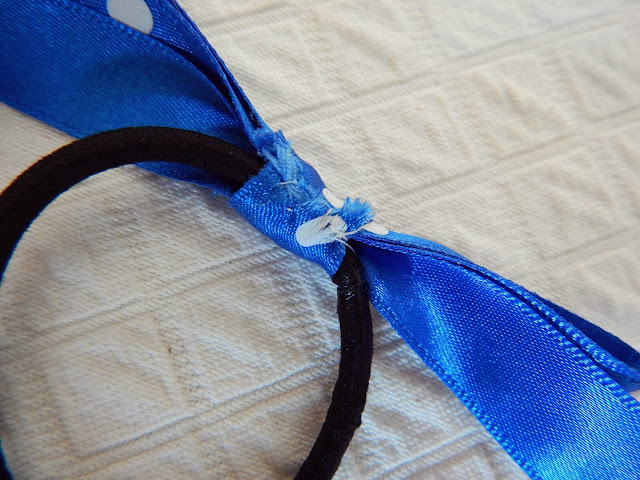
Finally, use the smallest length of ribbon to wrap around the middle of the rest of your bow, to create that iconic bow shape. Also wrap it around the hair bobble, and stitch securely in place. Your ribbon hair tie is now ready to wear!
What I love about this is that even on days when my hair is super messy (damn humidity!), I can stick this hair tie in and it looks like I've made some effort in taming it. Also, out of 1m ribbon, I managed to make two of these guys in well under half an hour, so I'd say that's pretty good going.
Let me know if you try this, or if you've ever made your own hair accessories!


No comments:
Post a Comment