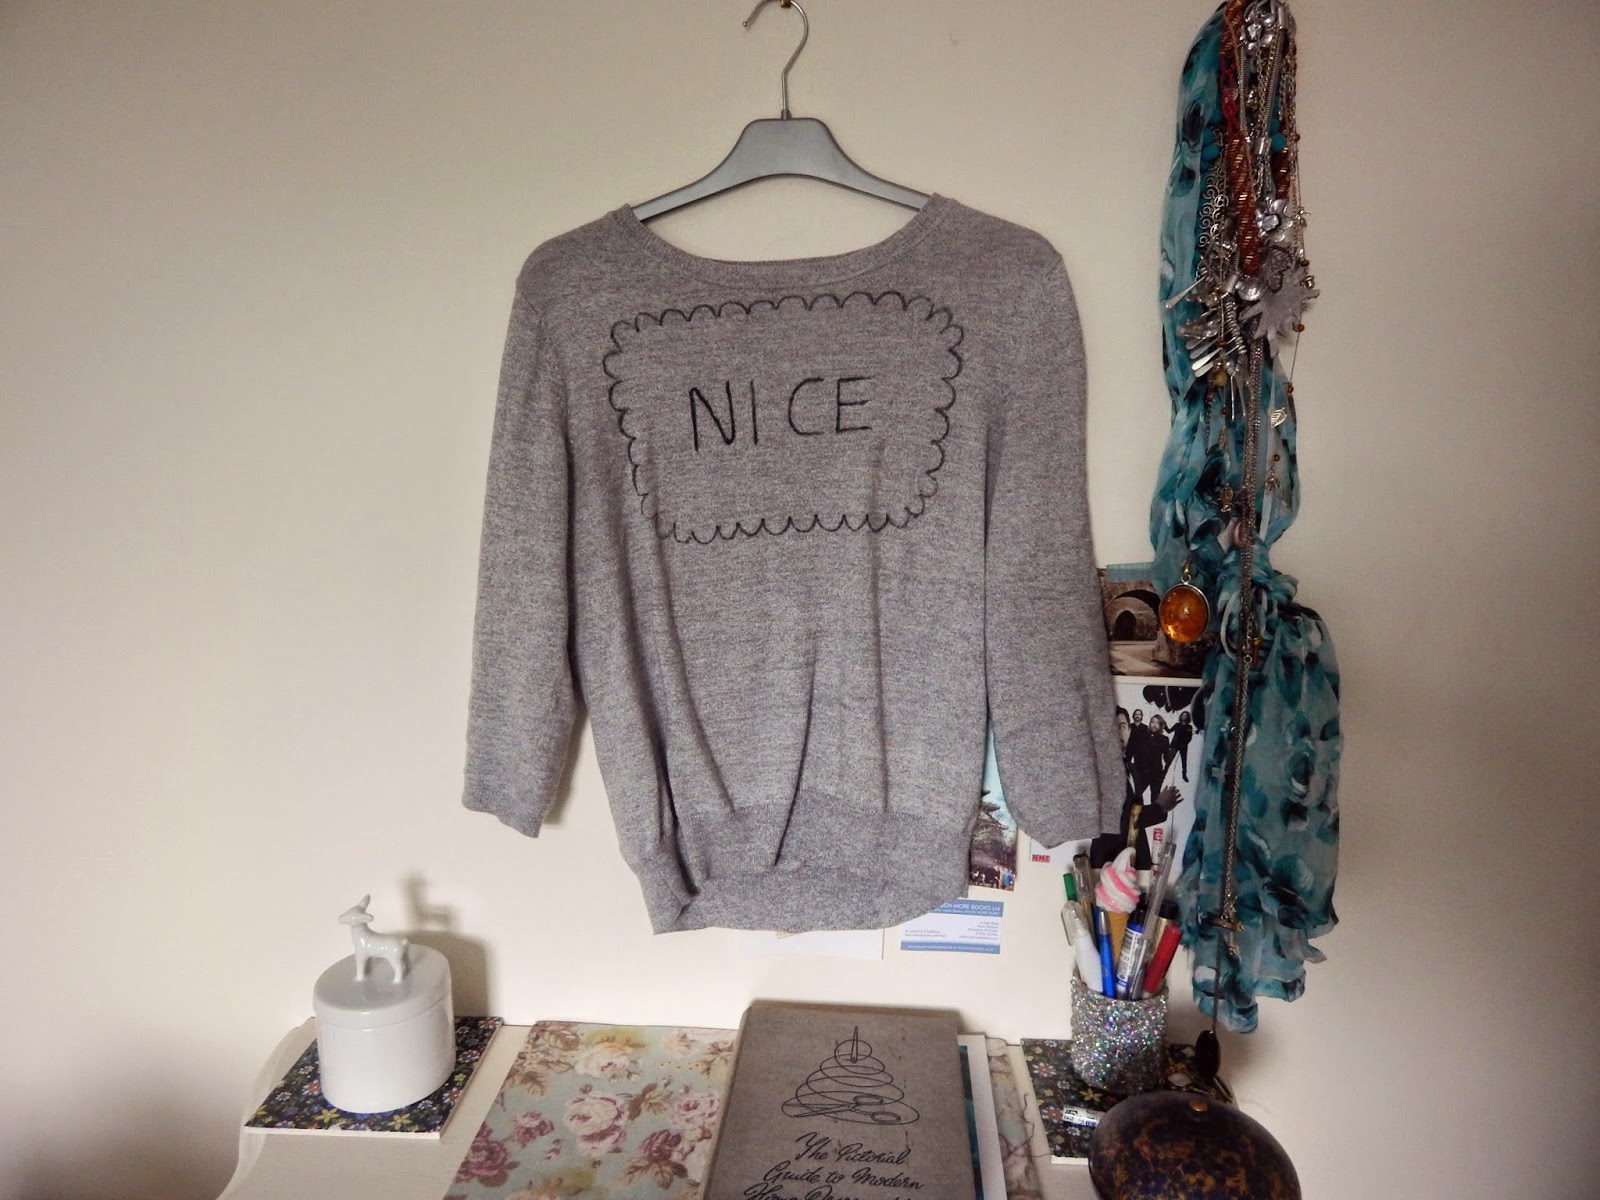
I like biscuits and I cannot lie. Sorry if you now have that song in your head. If you're a long term reader, you'll probably know of my love of the tea break staple (you can even see my all time favourite, custard creams, in my blog background). It was only a matter of time before they made their way into my wardrobe, and now seems the perfect time to introduce a new jumper into my wardrobe, ready for the cooler weather.
I picked up this lovely, lightweight knit earlier in the year - it's from New Look, and was in the sale for £6. Unfortunately, I haven't had much opportunity to wear it, because we've had such good weather this summer (great news for holidays, not so great news for jumpers). I've been itching to customise it - the plain grey colour makes for the perfect base to get busy with. I'd also bought a fabric marker which I was desperate to try out, so the two came together for a fun and quick DIY project.
You will need:
- A plain jumper or sweatshirt you'd like to biscuit-fy
- A fabric marker in a colour of you choice
- A pencil
- Old newspapers
- A picture of your chosen biscuit (or real biscuits - real biscuits are good)
I chose to do a Nice biscuit, so I'll talk you through my design. I sketched out a large rectangle in pencil on my jumper, and marked out roughly where I would place the scallops around the edge. When I was happy with my design, I went over it with the fabric marker - I found that many short strokes were more effective than one long one.
I then carefully copied out the lettering on the biscuit, making sure it was central. I chose this design because it was quite a simple one, but maybe next time I'll try a more complicated one.
To make your fabric marker permanent, you need to carefully follow the instructions on your pen. Mine needed to completely dry before being ironed on a medium heat, but each brand might be different.
When you're done, celebrate by making yourself a cuppa and dunking in a biscuit or two!
You get bonus points if you wear it when baking biscuits.
Let me know if you try this (or if you recommend any other biscuit related projects!).


yurtdışı kargo
ReplyDeleteresimli magnet
instagram takipçi satın al
yurtdışı kargo
sms onay
dijital kartvizit
dijital kartvizit
https://nobetci-eczane.org/
ZİB
salt likit
ReplyDeletesalt likit
dr mood likit
big boss likit
dl likit
dark likit
XJ7Z