I'm such a nerd when it comes to anything history/art related, that I jumped at the chance to buy the below keyring. It was a mere 10p from one of my favourite second hand haunts.
Like any child of the 90s, I had an extensive collection of keyrings (I had some incredibly Harry Potter ones). Sadly, I rarely succumb to buying keyrings now, as I only ever need one. This one was destined to come home with me though, as when I saw the gorgeous Roman charms, I knew I would use them somehow.
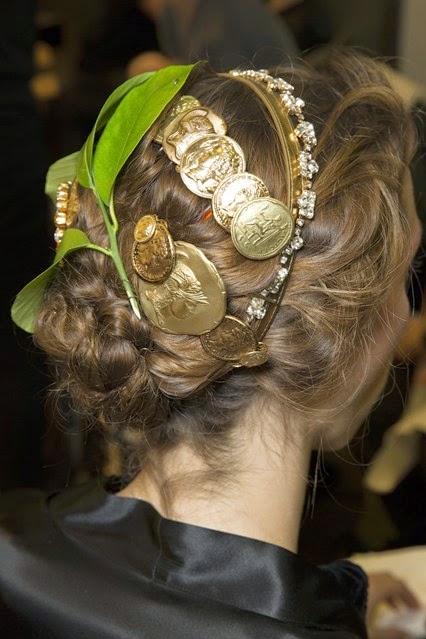
It wasn't until after my purchase that I remembered the Dolce & Gabbana Roman influenced Spring/Summer 2014 show, and I smiled smugly as I realised how on trend I was. Quite a happy accident, I assure you.
 |
| Source |
I decided to make a two layered necklace using the charms, as I thought it would be more wearable on a day to day basis than some of the more eccentric items from the show. This is quite a simple tutorial, and you can adapt it to include more than two chains, and to use any charms you want.
You Will Need:
- Charms of your choice
- 2 necklace chains (one longer than the other)
- Pliers
- 5 Jump Rings
- A fastener
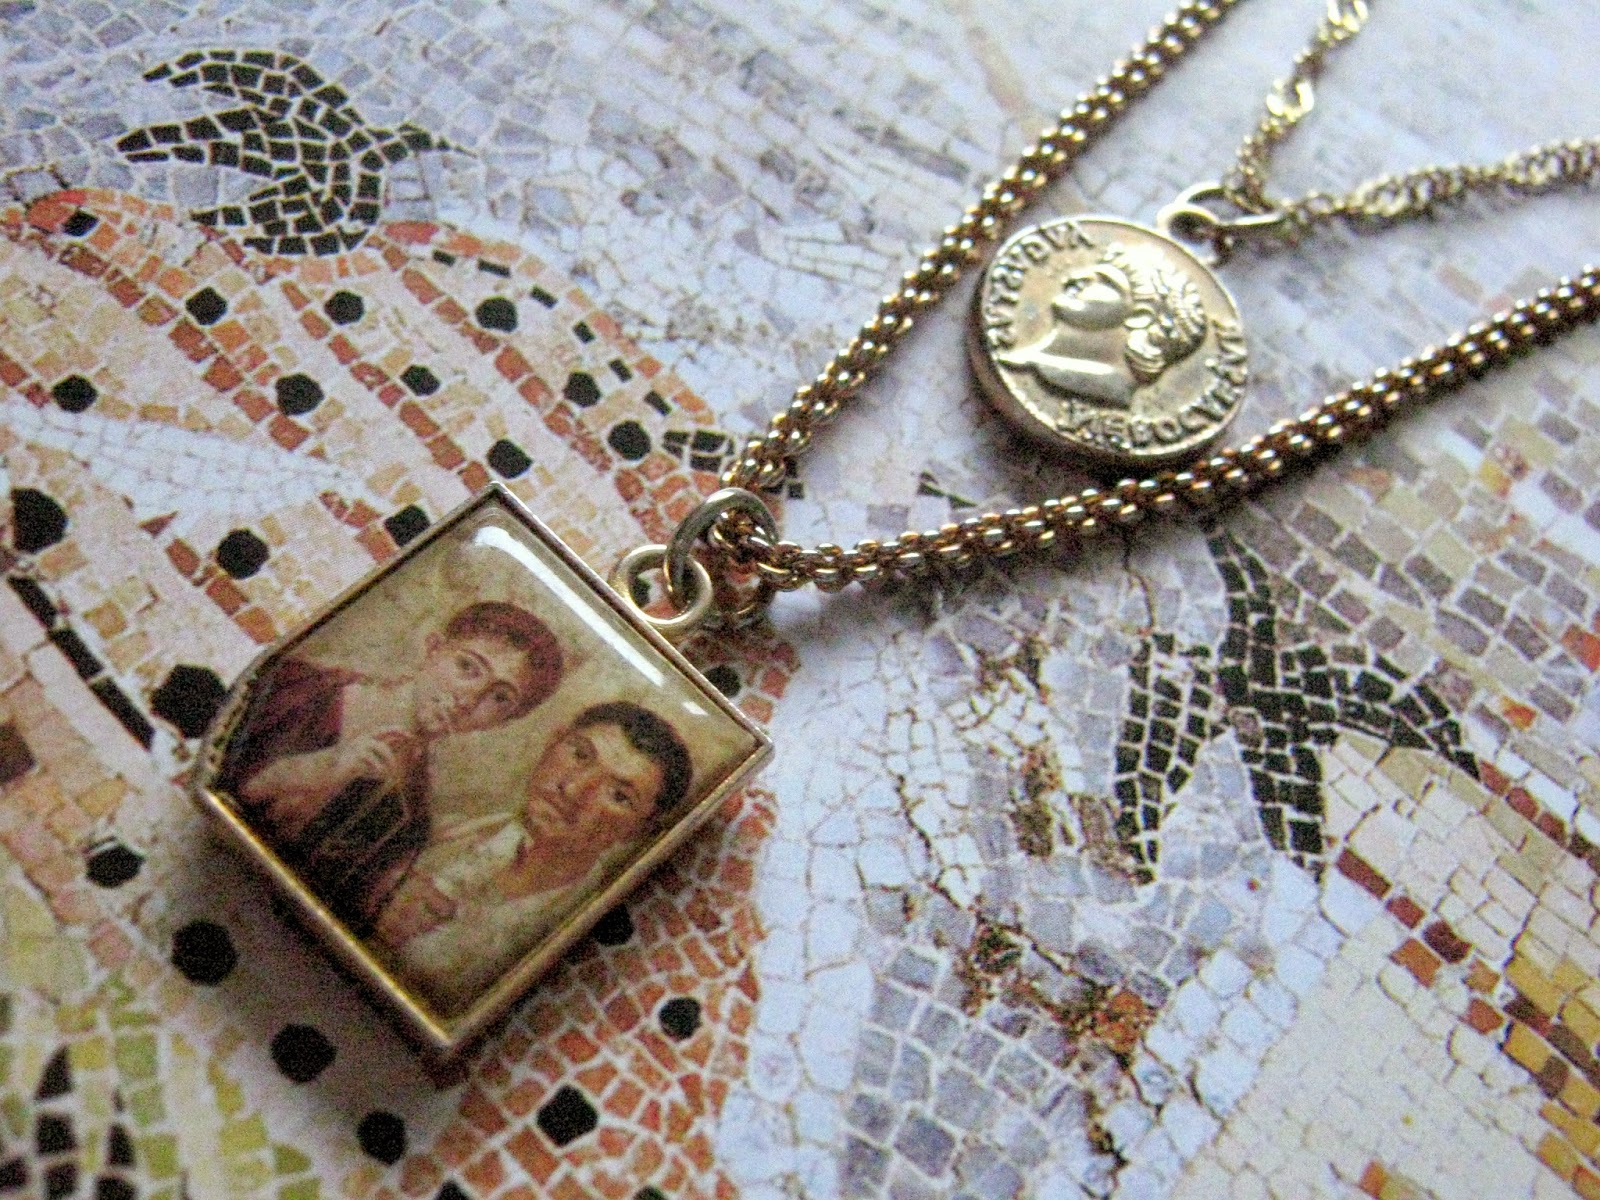
I decided to use the coin charm and the fresco charm - I found the dog charm to be a bit creepy (and I'm more of a cat person anyway). I simply used pliers to take them off the keyring.
If you want to make a necklace like mine, you can find some coin charms pretty easily all over the internet, like these ones. Funnily enough, Roman fresco charms are a lot harder to find, so I recommend using this technique to make your own (you could use any painting you like). The fresco on my charm is known as "Portrait of the Baker", a painting of Terentius Neo and his wife, and was discovered in Pompeii. See, this blog is educational too!
First up, attach one charm to each of your necklace chains using jump rings. Think about which charm you want to be on the shorter chain, and which one on the longer chain. Personally, I think bigger charms work better on longer chains, but it's up to you.
Add a fastener to the end of one necklace, and a jump ring (or loop) to the other end. You are now going to attach the other necklace chain to this necklace.
Using a jump ring, attach one end of your loose chain to the top of your necklace chain. Repeat this to the other ends of the necklace, so that your four chain ends have become two.
Now, you're finished!
All that remains is to wear your new layered necklace, preferably with a toga and a laurel crown. Alternatively, I think layered necklaces always look amazing when worn with a floaty summery dress, or a t-shirt and shorts. They have a very laid-back, boho feel.
Let me know if you try this, and what themes you choose for your necklaces. Have you ever had inspiration from a second hand find?


No comments:
Post a Comment